ATTENTION
To maintain the speed of your website, it’s crucial that the images you upload are of the correct size. This ensures the website doesn’t have to fetch unnecessary data, which could slow down the loading of your website on both desktop and mobile.
There are several ways to resize your photos. Commonly used applications include Photoshop, Paint, and Paint 3D. To further optimize your photos, we recommend compressing them using TinyPNG to reduce the file size.
Below are some widths that you can use for various components of your website. The height of the image can be scaled automatically.
Full-width header image: 1920 pixels
Full-width row: 1200 pixels
1/2 column: 600 pixels
1/3 column: 400 pixels
What is a header image?
The image above is an example of a header image. The following explanation will show you how to easily change the image of your header.
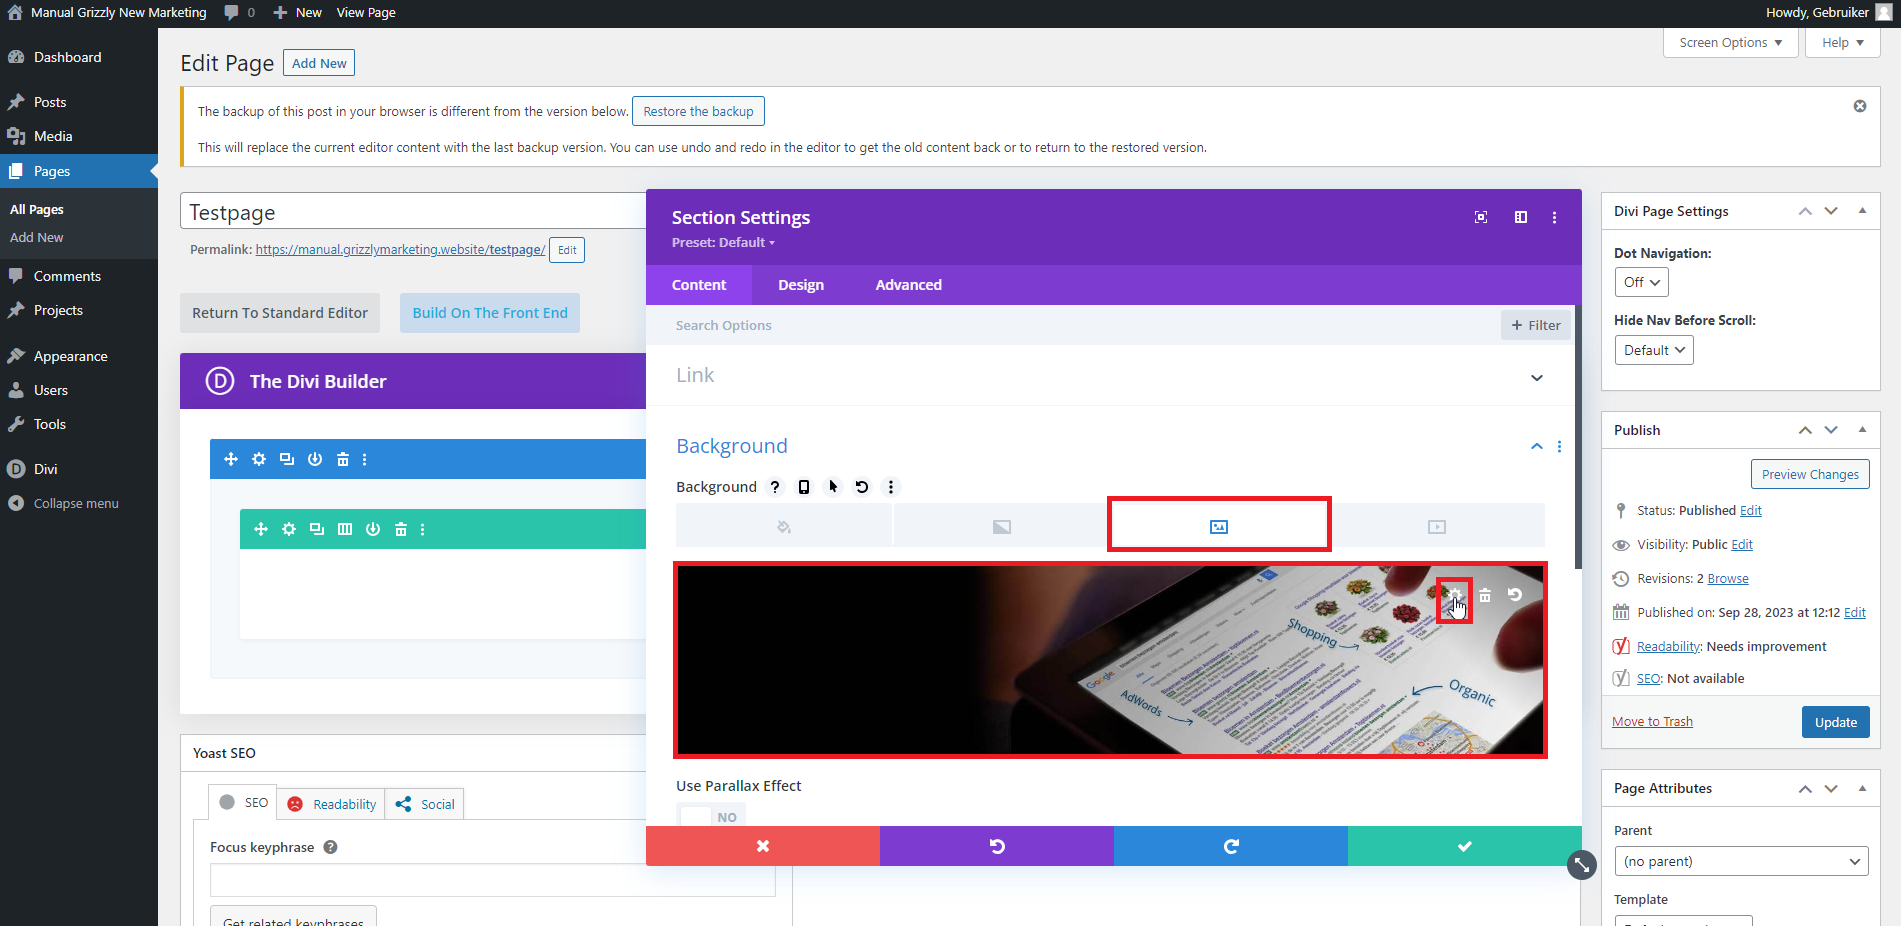
You can set one of the four background settings:
Paint bucket: With this, you can set a background color.
Window with 2 triangles: Here, you can set a gradient.
Gallery icon: This allows you to set an image.
Video icon: With this, you can set a video as the background.
Adjusting Your Header Image
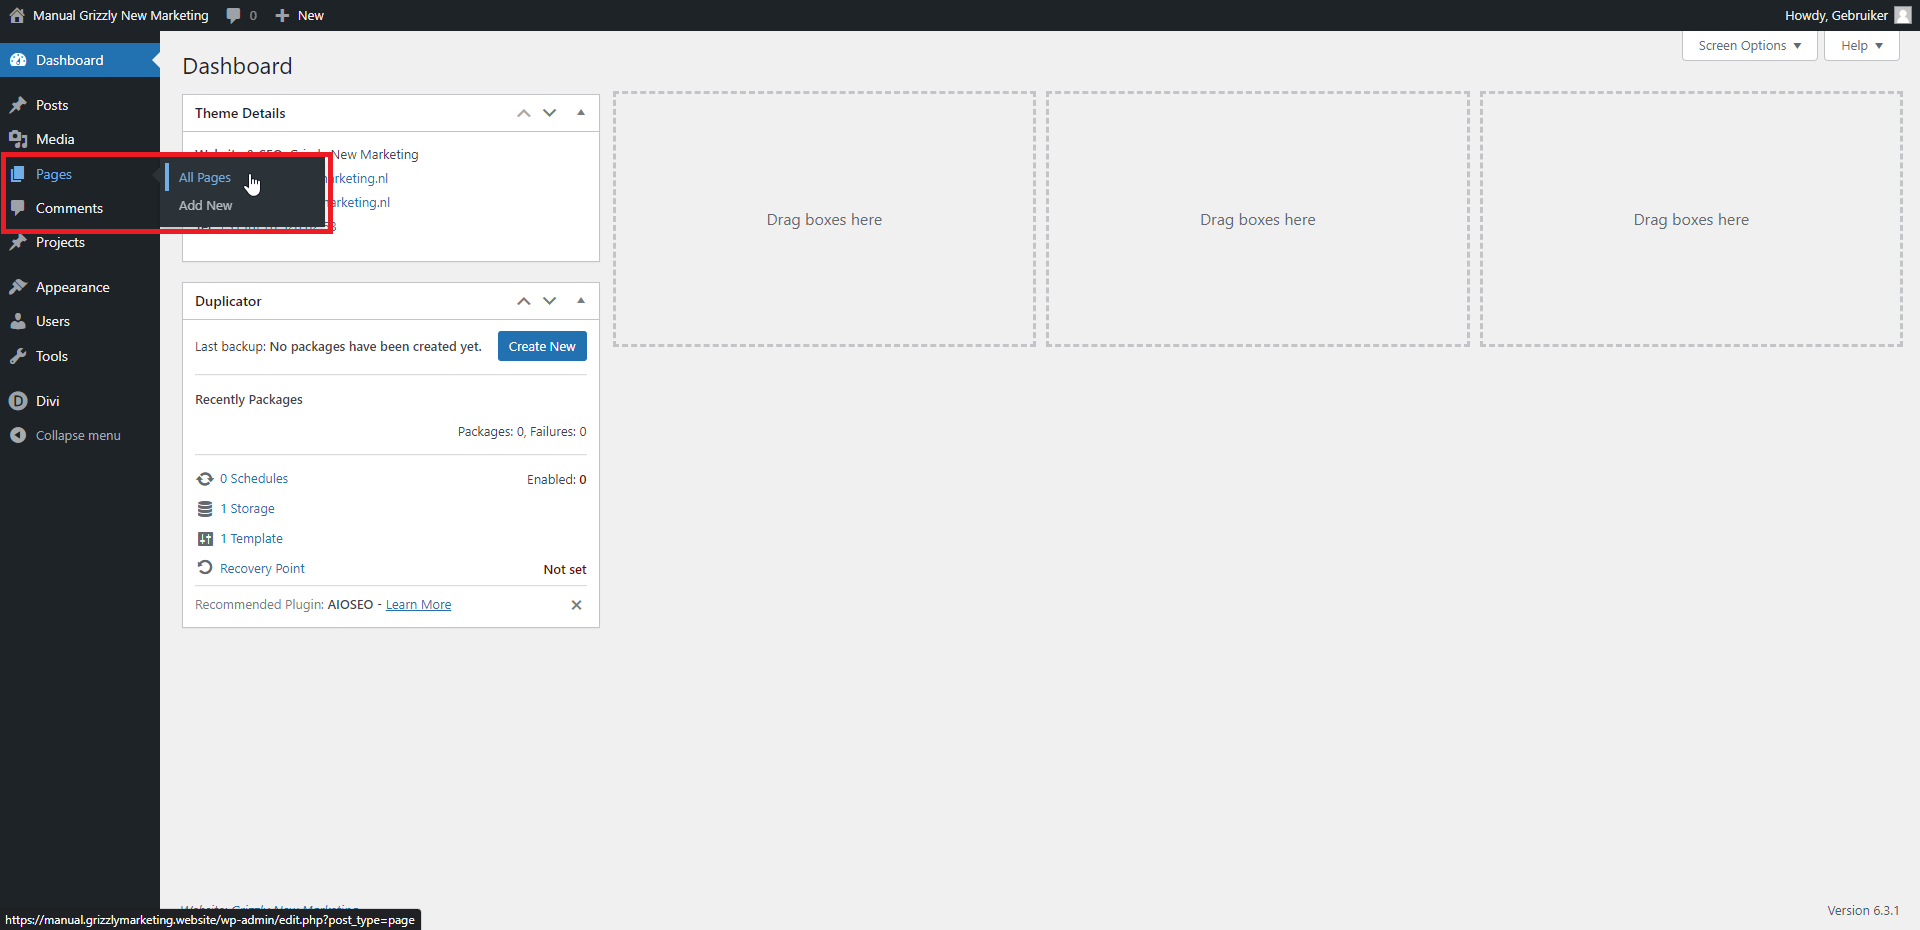
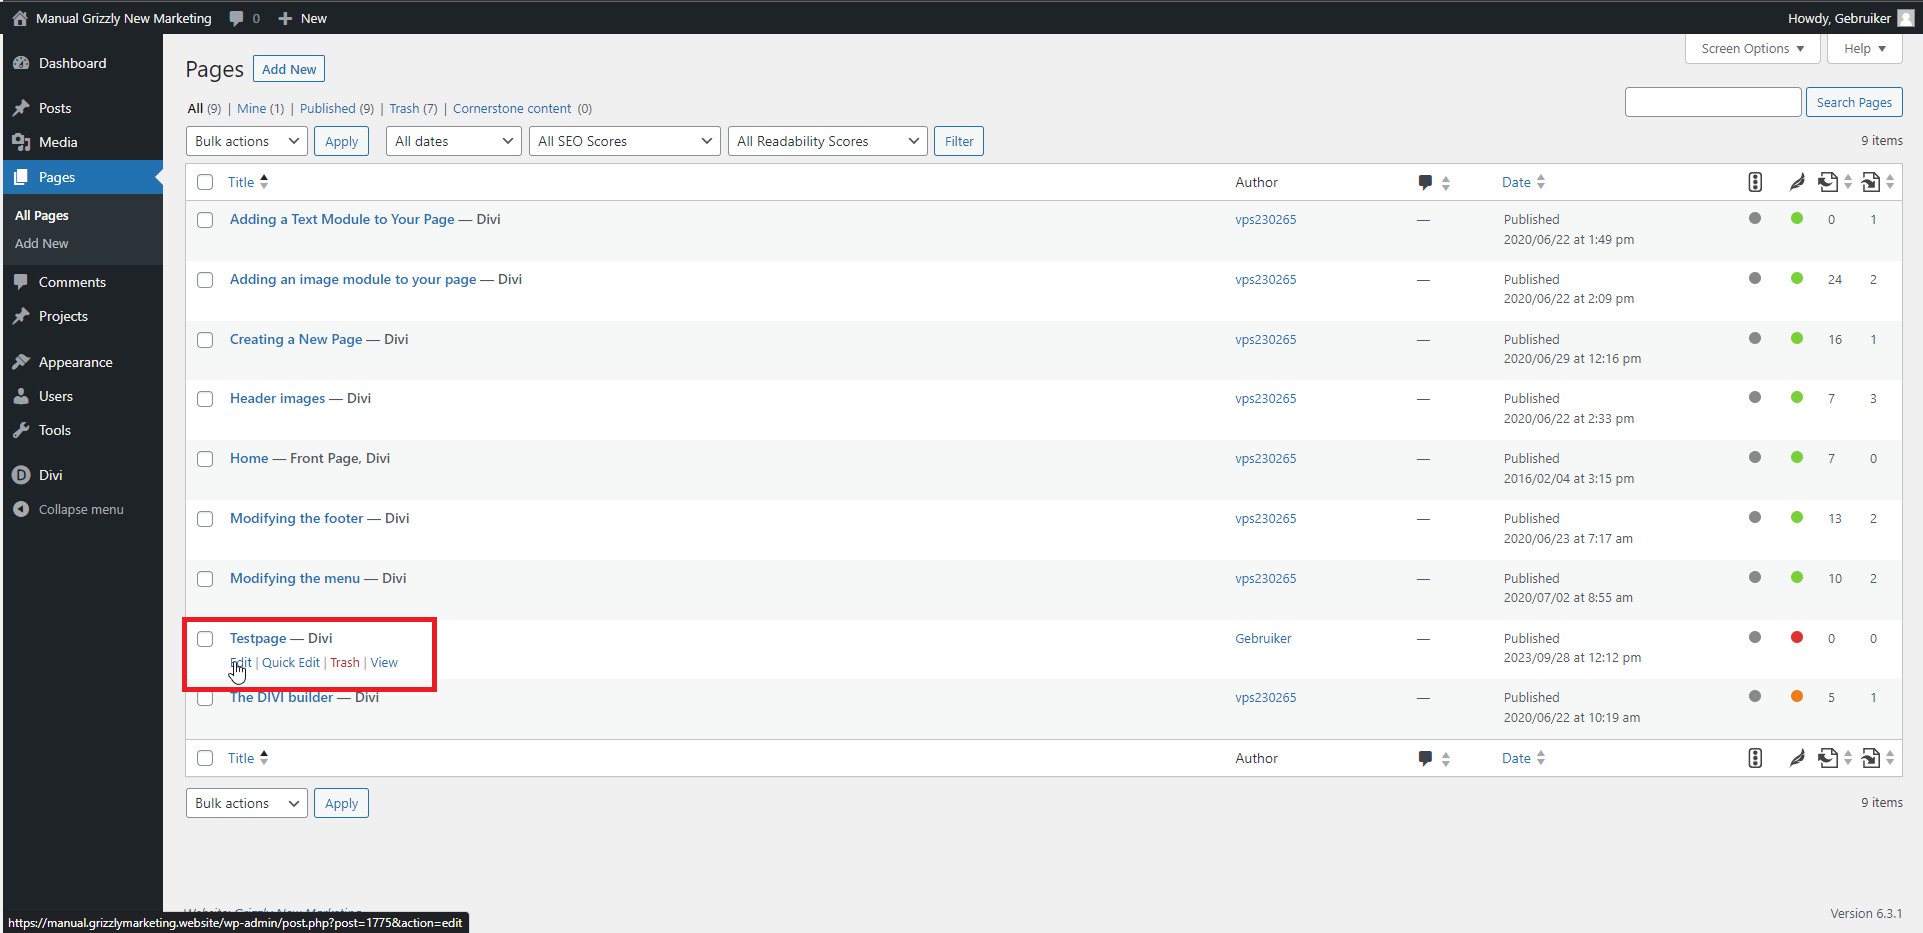
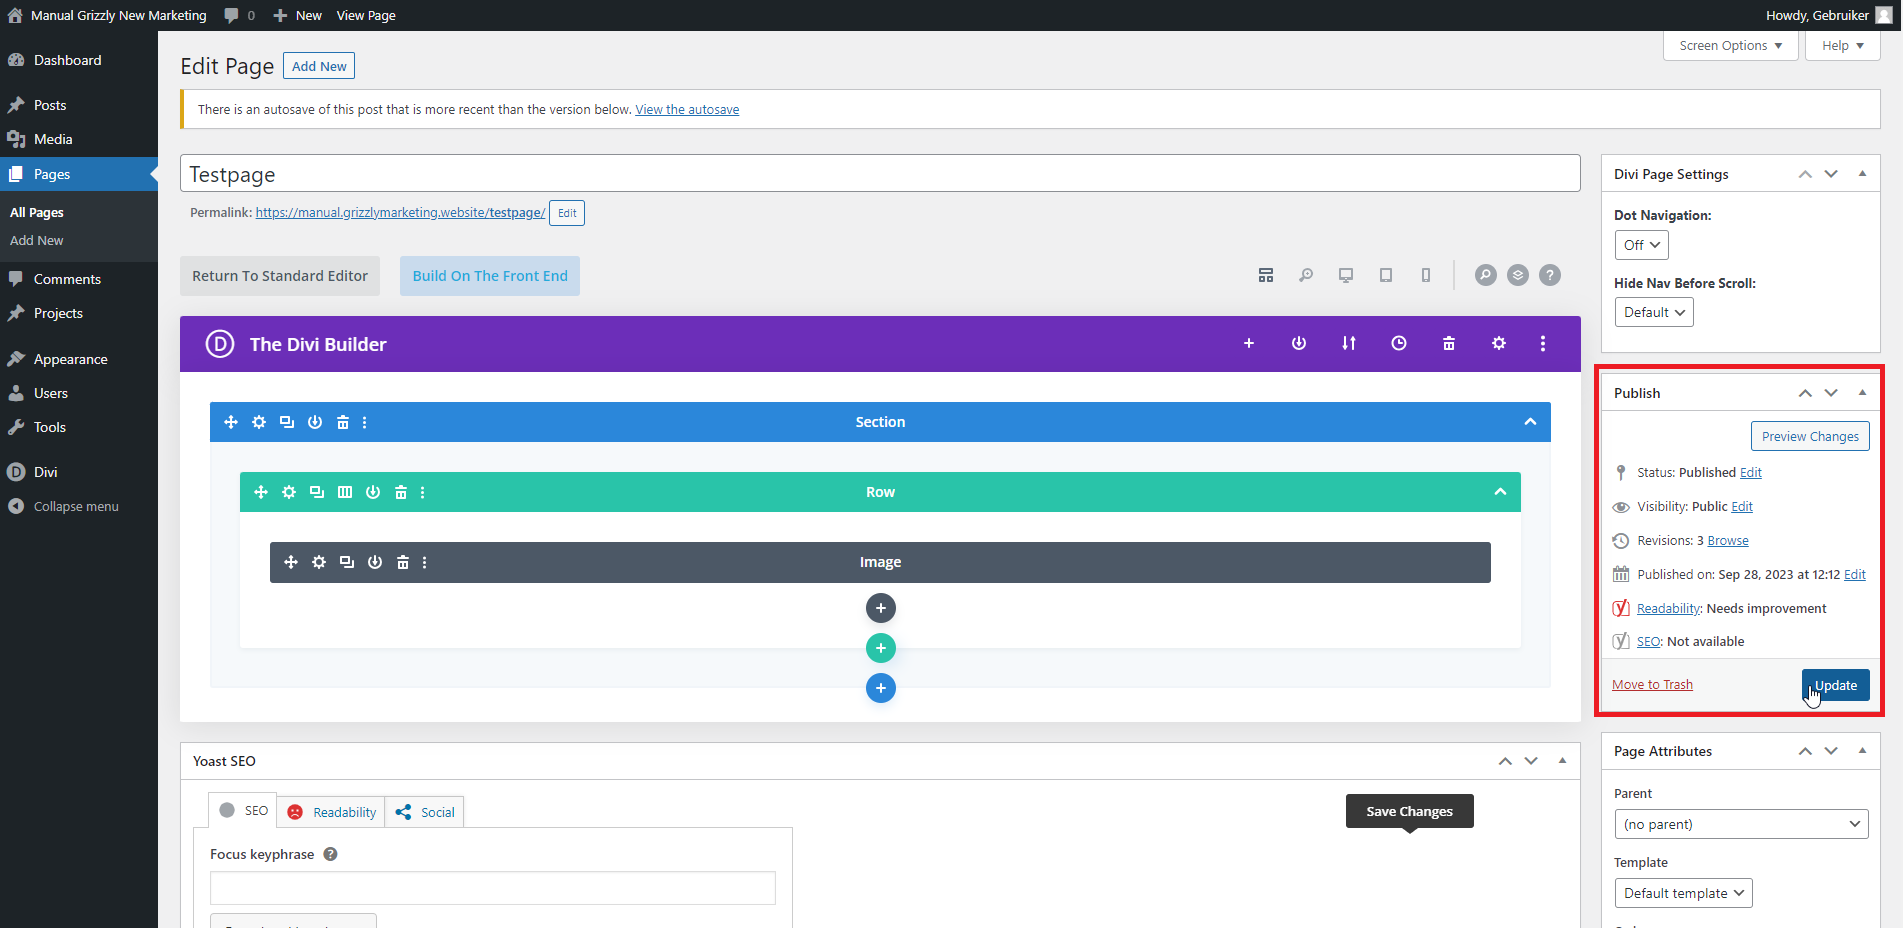
Navigate to “all pages” via the left menu1. Look for the page where you want to change the header image among the pages you see now. Clicking on the title or on edit will take you to the page where you’ll see the Divi builder2. The header image is always set on the first section of the Divi builder.
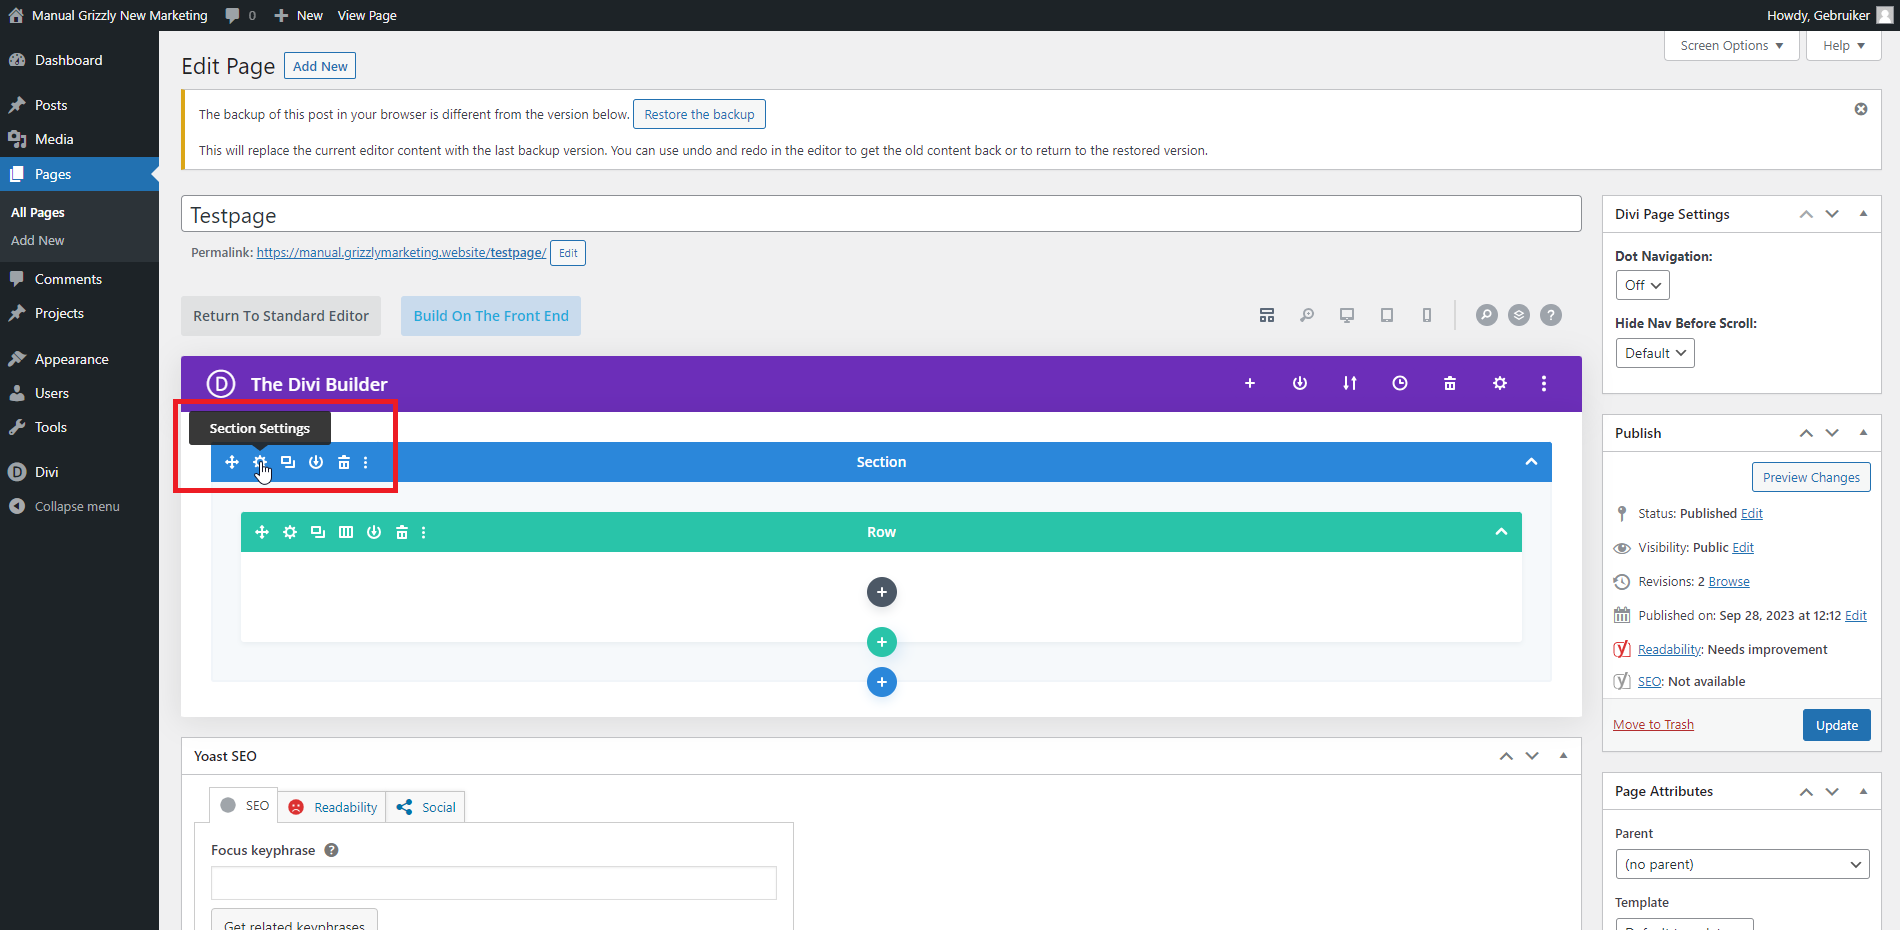
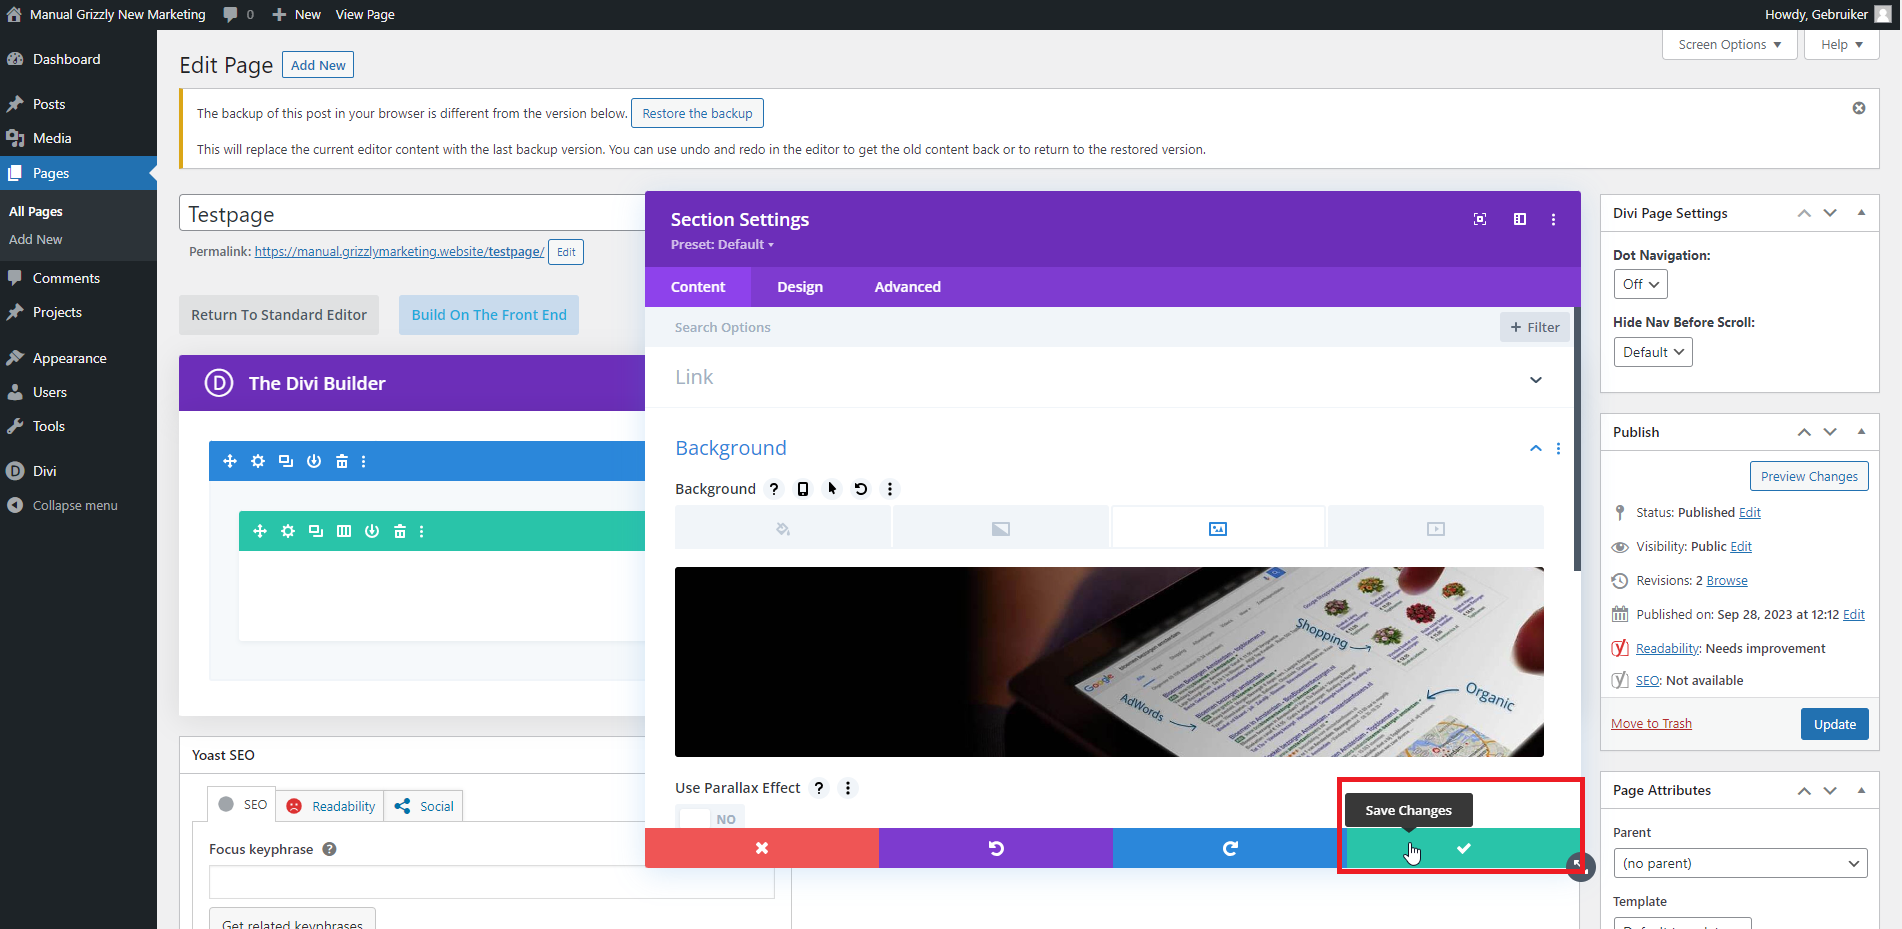
To access the settings of this section, you need to click on the gear icon of this section3. Once you click it, a new window will appear with several settings. Click on the ‘Image’ header to open the background settings of the section4.
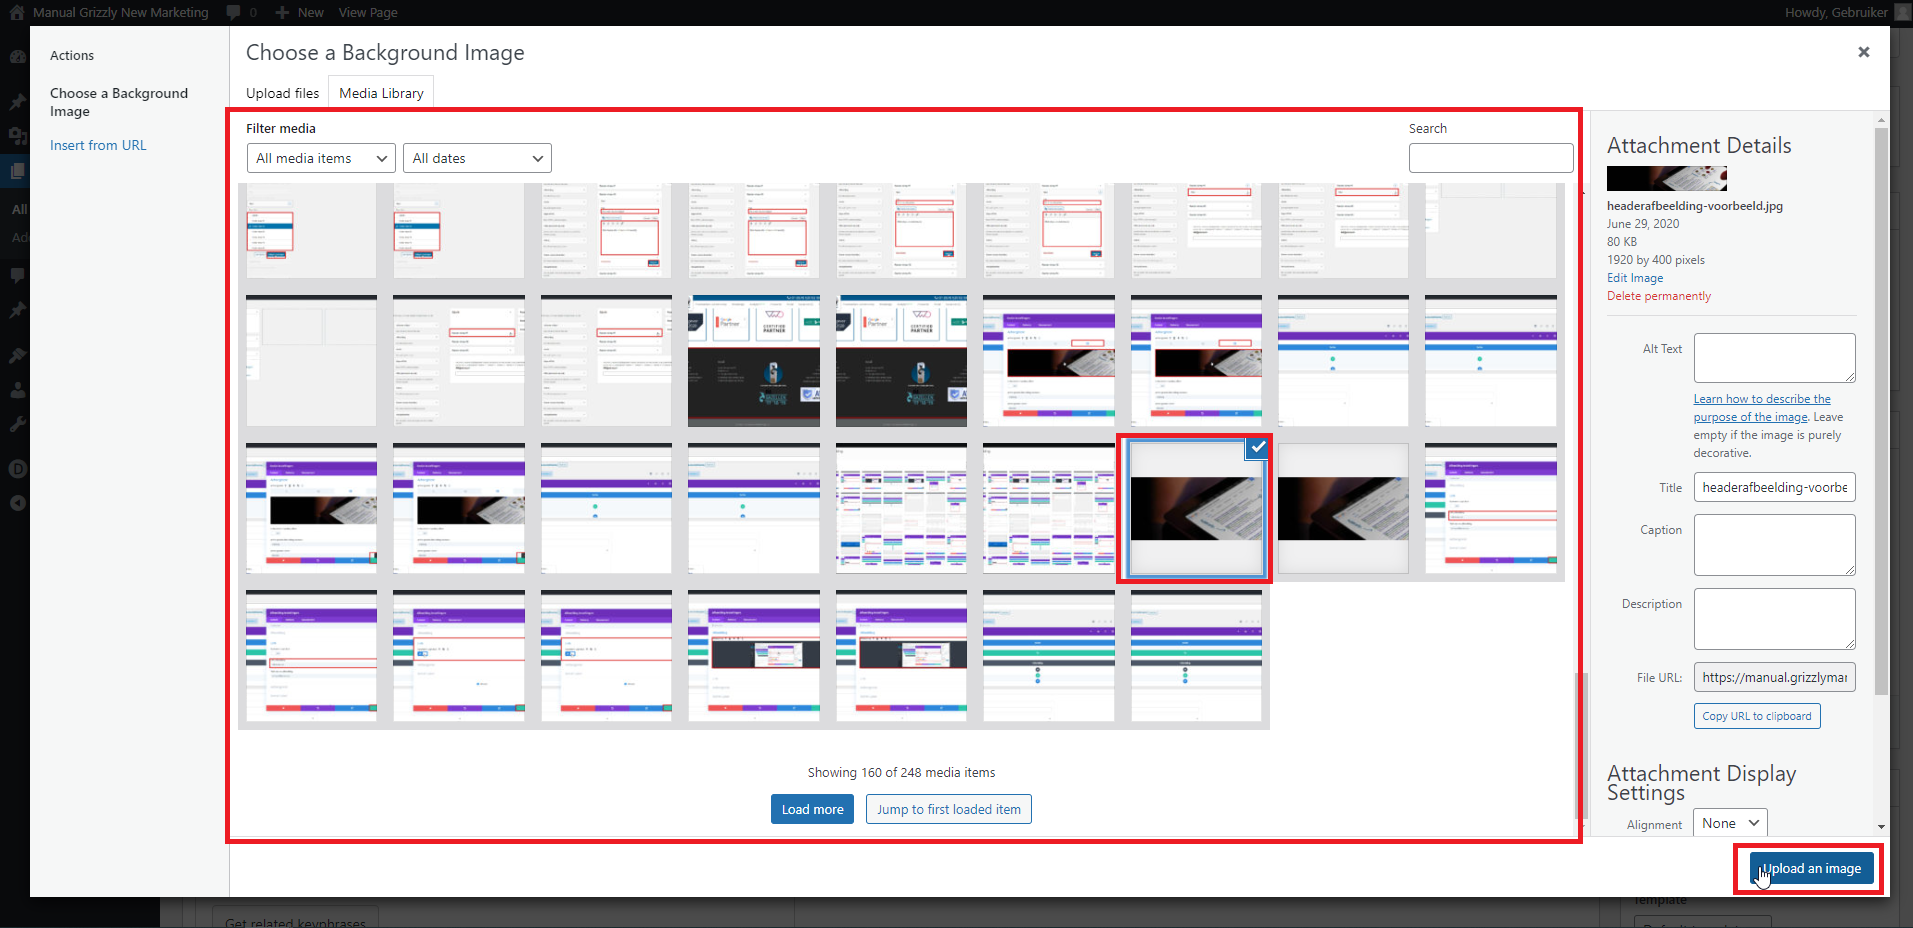
Next, you can open the media library by clicking on the existing image5. You can then upload your new header photo by dragging it from your file location into the media library. Once you’ve selected the new header photo, you can load the photo using the ‘Load a photo’ button located at the bottom right of the photo5. Using the green box with the checkmark, you can save the image to the module6. After this, you’ll need to update the page using the blue ‘Update’ button7.
